
Step 1
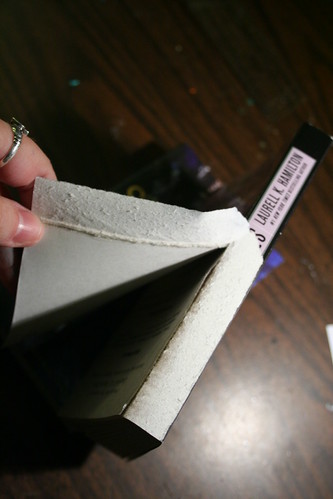
Remove the cardboard cover off of the book, getting as much of it off the spine as possible but leaving the glue alone.
Step 2
Now there are two ways to proceed with the next step. One that's safe for wee hands and one that isn't. I'll go over the one that's kid friendly first.
Kid Friendly, Craft Knife Free Option
Have your child fold the pages down to the center of the book to form a tree shape.
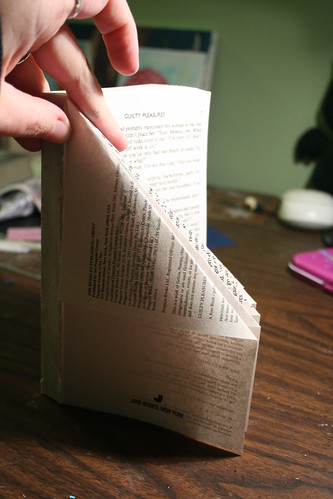
Once you've folded a few pages over you can start to get a feel for how your tree will be shaped. If it's too chunky for your liking, fold the page once more in the same direction to create a slimmer tree form.
Once you're done, skip down to step 3. If you're an adult who'd like to make a slightly fancier tree and isn't afraid of a sharp craft knife, this is the way you'll want to proceed in step 2.
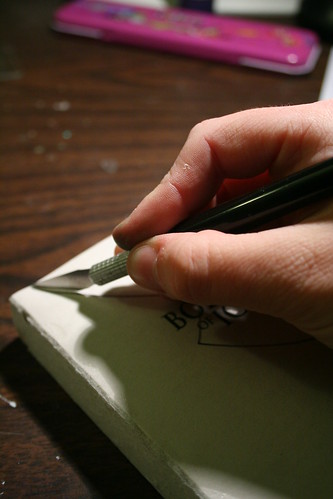
Adult Friendly, Sharp and Messy Option
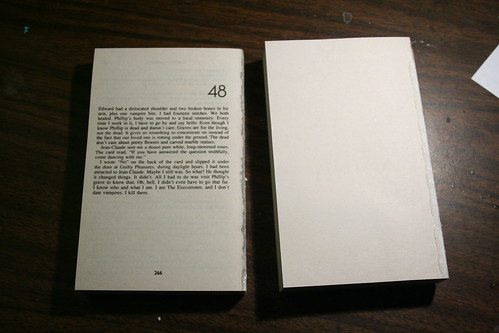
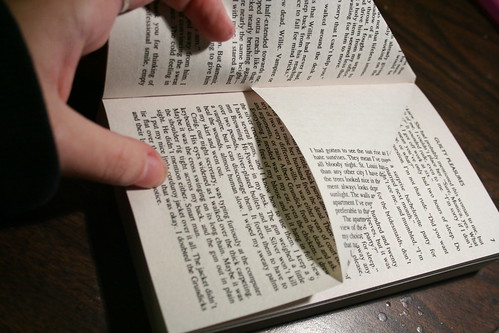
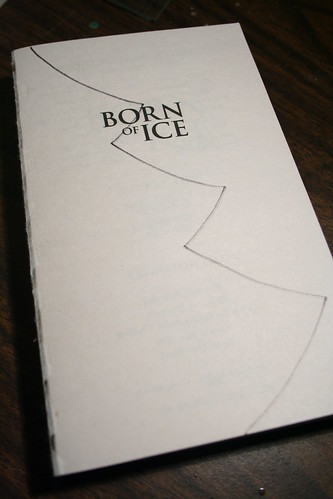
Draw your tree shape on the first page of the book with your marker, grab your craft knife and start to cut along the lines.
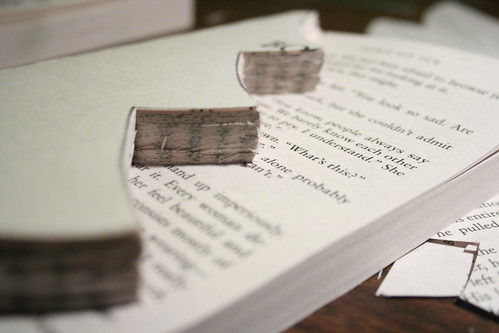
This is what your tree will look like about halfway through!
Step 3
Once you've either folded your pages or cut them up it's time to shape your tree.
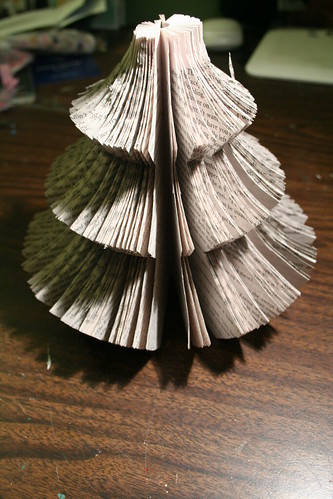
Gently fold the book around and back on itself to create a rounded tree shape. With old books with well worn binding, this will be simple! If your book is new, you"re going to have to do this by first bending the book to stretch the binding every few pages.
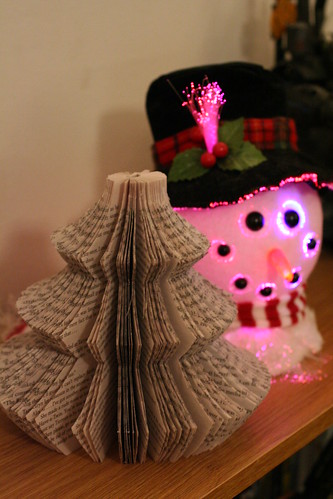
Once your tree is rounded and fluffly, paper clip the end pages together and display it! Feel free to ink, paint, glitter or otherwise decorate your tree.
Once the season is over, remove the paperclip, push it back to it's previous book form and store with your other decorations.
If you try this out and use the cut-out method, please remember to recycle or reuse the paper scraps! also, if you want your tree to have more of a point at the top then mine does, just start your pattern closer to the spine!
Happy mess making. :)
Soooo cute, Danni!! I'll definitely try it with Lucas! :)
ReplyDeleteThank you for sharing! <3
PS: I'm drooling at your header!!!! I'm speechless (that's rare, lol!)
ReplyDeleteI like the idea, but using a Laurell K. Hamilton book??? Sacrilege! Lol. I'm going to t=give this a try. My sister gave me some books, trying to convert me, and I can put them to a better use.
ReplyDeleteI love those trees!! We used to make them but not nearly as complex and lovely. I may give it a try though.
ReplyDeleteGreat tutorial. I love this book craft. GK put her stamp of approval and has put it on our to do while they are on winter break list. Thanks it's adorable. The Olde Bagg, Linda
ReplyDeletethat is so awesome! I've never seen these before, but now I'm going to have to get some old books to cut up for sure!
ReplyDeleteGuess what I'm going to be doing tomorrow??? =D
ReplyDeleteThis is awesome! Thanks so much for sharing. ^-^
XOXO
This looks like so much fun! Thanks for sharing - the kids will love this craft.
ReplyDeleteWhen I was small, we used to have a Mrs. Santa Claus made out of a Reader's Digest. They used to attach a doll's upper body to the base, which was the paper part, and was her skirt (painted red). The doll's costume was the traditional Mrs. Claus, with white hair and red mop cap. I loved it.
ReplyDeleteI've never seen them made into trees exactly like this either! It's really cool.
Thanks for jogging the nostalgic memories!
I remember doing these from my days in Girl Scouts. :0)
ReplyDeleteLove this! I had never seen them before but now my creative juices are flowing! Thank you!
ReplyDeleteOh I love the idea!:) And thanks a million for the kid friendly version, I will remember this a few years later when the Wee Baby will be old enough for this.
ReplyDeleteI love this. Only ever made the kid friendly version, love the messy adult version. Think it's HILARIOUS that you used a Laurell K Hamilton book. heeeee.
ReplyDeleteI completely forgot about these things! A bit late in the season for me but I will have to remember this for next year. Thanks for the reminder!
ReplyDeleteAmazing Danni! Do you know, I'd never actually seen these before? Must have missed that day at school! We've loads of old phone books and things lying around, I think I may give it a go. Thanks so much! Hope all is well :)
ReplyDeleteRoisin x
Cute!!!!
ReplyDeleteI love to make paper decorations this time of year and that is a new one to me. Too cute! Thank you for the great tutorial.
ReplyDelete