Keepsake Matchbox Shrine
Supplies you will need: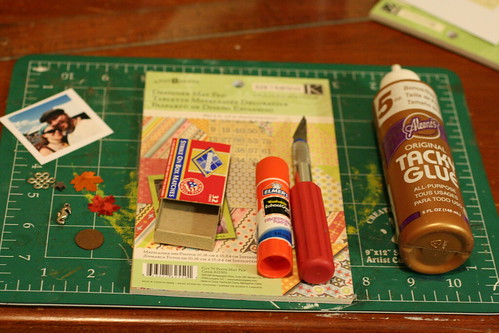
* Matchbox
* Glues (stick and thick liquid)
* Craft Knife
* Cutting mat
* Ruler
* Scrapbooking or other papers
* Focal Picture
* Embellishments
Step 1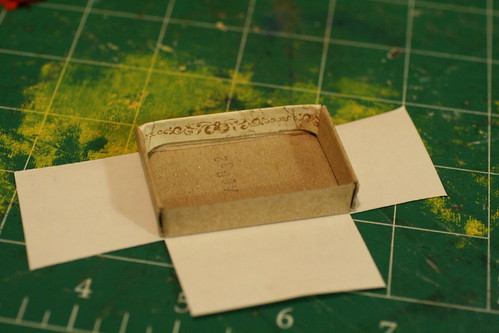
Cut out a piece of scrapbooking paper 2x the size of your matchbox's back side.
Glue the box into the center of the paper and trim the excess to create paper flaps to cover the walls of the box.
Step 2: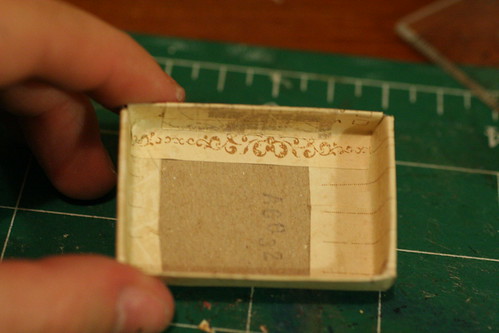
Fold flaps in and glue in place using your tacky glue.
Step 3: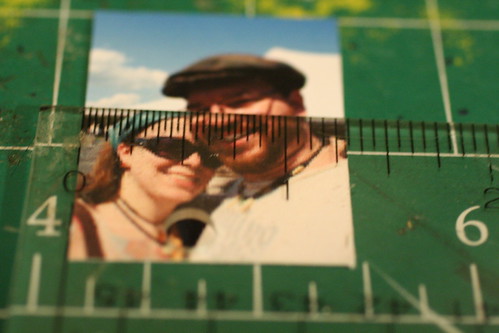
Cut your photo down to fit inside your box.
Step 4: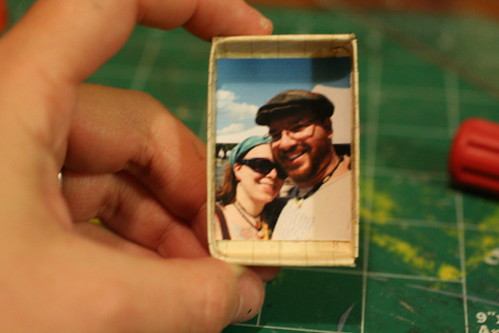
Once trimmed, glue the photo inside with glue stick and set aside to dry.
Step 5: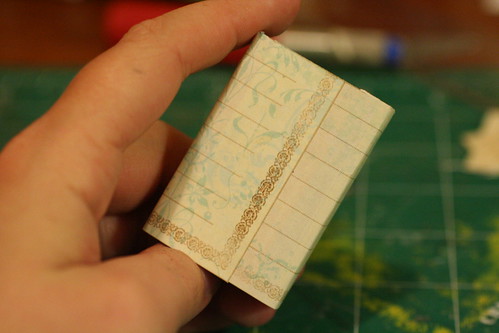
While your interior dries, cover the outer matchbox in paper. Measure the box and trim the paper accordingly, then glue into place with your glue stick.
Set aside to dry completely, as you don't want the paper to shift and wrinkle while you work.
Step 6: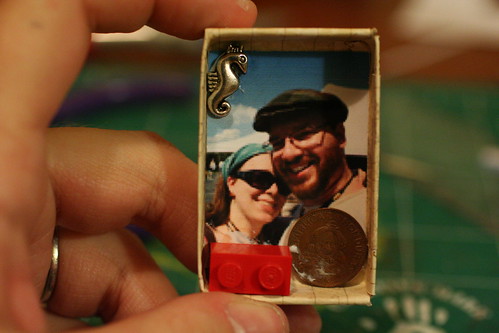
While the outer box is drying, take the embellishments for your interior box and glue them in place with your tacky glue.
For mine I used a foreign coil to symbolize my DH's love of travel and learning, a Seahorse charm to represent my love of the sea (and that my favourite element is water) and a lego to symbolize a combined interest.
Step 7: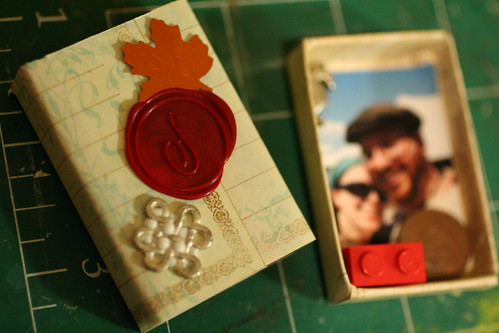
Lastly, embellish the outside. I used a leaf, a wax seal of our initial, and a celtic love knot.
Once both boxes have dried, slip the inner box inside of the outer box and viola! You have matchbox keepsake. :)

Monday, December 7, 2009
Keepsake Matchbox Shrine Tutorial
I hope you'll find my tutorial enjoyable and will give making your own keepsake matchbox a try. They're great gifts for others as well as yourself. Also, merry meet to those of you visiting from the Domestic Witch's Homemade Holidays!
Subscribe to:
Post Comments (Atom)
what a simply wonderful idea.... so simple... yet so nice... thanks for sharing...
ReplyDeleteThat is so cute. I am going to print this out so I can make one.
ReplyDeleteThanks for posting it.
Wow! This is a great idea! Thanks so much:)
ReplyDeleteThis is too cute! Thanks for the great idea. I have a tiny box, The Boyfriend gave me--it was filled with chocolates for about 3 seconds lol--I think I'll use that. I'll share my crafty work and link you to the post when I do.
ReplyDeleteGracias!
Thanks everyone! I can't wait to see what you make. :)
ReplyDeleteThis is such a sweet offering. Simple and wonderful. Thanks for sharing. I have saved match boxes for quite awhile and forgot that I had them until I came upon your post. Guess what the grandkids and I will be doing for an afterschool craftathon?
ReplyDeleteBlessings, Linda in New Mexico
What a super-cute idea! Love how simple and easy it is to make it. With the many matchboxes at home, this is one more way for recycling!
ReplyDeleteThanks for sharing, sweetie.
Kisses from us.
Super cute and a nice way to have a little something special in your purse or pocket!
ReplyDeleteaww this is so sweet, thanks for doing this!
ReplyDeleteI may bite the bullet and try to make one of these! I loved the shrines you did for the WWP swap. The pic of you and Joe is soooo sweet! :)
ReplyDeleteBelieve it or not, but I have planned to make matchbox shrines for quite some time. :) I just love your shrine -- and thanks for bringing up the idea. It might be just the little push I needed to get started. :)
ReplyDeleteGreetings from Munich,
Birgit
PS: Have you had a chance to wear the orange-black striped tights you won earlier this year? They looked so cute. :)
I was double tagged for a game to spread holiday cheer and I felt the need to spread the joy, so here I am, um... spreading. Here is the link if you wanna play the game: http://pagan-culture.blogspot.com/2009/12/check-your-witch-and-tag-her-twice.html
ReplyDeleteGreat idea!!! Thank you for sharing :)))
ReplyDeleteThese are great! :)
ReplyDelete